Background
Thursday, May 26, 2011
Using a stamp in a different way
It's always fun to have more than one use out of things and stamps are no exception. With this card I followed an idea from CTMH and made the patterned stamp into flower petals. I stamped the image onto cardstock, then cut out each image and inked the edges. I then secured all of the petals with a corduroy brad. You'll also see the new button brads securing the quote at the top. This card was made using the Wings workshop on the go kit and co-ordinating accessories. Hope you like it!
Wednesday, May 11, 2011
Along came a baby
Sorry for the hiatus, but my little guy was born January 21 so we've been kinda busy since. I have been scrapping though, but not been able to blog. Here's a layout I just made on the Scrapbooking Retreat that we just had this past weekend in Banff. I had picked up the extra large buttons in a clearance sale about 4 years ago and finally was able to use them on this layout. Just goes to show that if you keep things long enough, you will eventually use them. I used my sister's Cricut Expression for the train (B is for Boys cartridge). I used the Friendship Large Alphabet for the title as well as heat embossing the stamped letters with clear powder just to make the title stand out. One technique I did learn from my sister recently was to use a white gel pen on colored paper to have the journaling stand out.
Tuesday, January 18, 2011
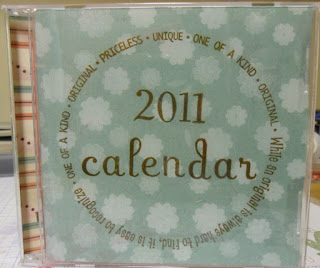
2011 Desk Calendar
| Front View |
| Inside View |
| Back view |
Hi all, sorry it's taken me so long to post, but we've been getting ready for the little one to be born as well as being super busy at Christmas and now I'm just playing the waiting game so I thought I'd catch up on some of the projects I've been up to.
This is a desk calendar that I made from a blank CD Case. I removed the side of the case where you insert the CD and covered it with paper. After sizing the paper, I made mats for pictures and stamped the front, inside and back cover before adhering it to the plastic case with Mod-Podge adhesive. I then stamped the little calendar using CTMH's Moments In Time Stamp Set and made it tear away by stapling the tops of the paper together. These were great Christmas gifts for my co-workers and are re-useable by replacing the calendar year if you wanted to.
Watch for some more project ideas or a birth announcement. Hopefully the little one decides to come soon. If not, I'll have lots of time to scrapbook before baby comes...
Friday, October 8, 2010
Thanksgiving fun
I decided to do more than just have food this Thanksgiving and actually do something that showed appreciation. This is the card I've made to give out on Thanksgiving day. I did have fun with it though. I used the new Close To My Heart Stamp "Harvest Home". I cut out different sized rectangles, inked the edges and then stamped with Barn Red ink. I then heat embossed in clear powder the stamped images. Using markers, I coloured in the veggies and fruit in the cornucopia to give it some extra color. Here's a close up.
I hope you all have a great Canadian Thanksgiving. Thanks for stopping by!!
Sunday, October 3, 2010
Gift card Card
My sister-in-law is getting married soon so I made this cute round card for her bridal shower. I used a new circle card base from Close To My Heart and embossed the phrase on it.
My husband and I gave her a gift card as the gift and as an interesting way to include it, I cut out an envelope using the Cricut. I then cut off the top flap so that it was easier to see the gift card. I also attached it to the inside of the card.
Sunday, September 19, 2010
Paper Pleating
One of the trends I've been seeing in the magazine's lately is pleating paper. It looked like such an interesting new way to use paper I just had to try it. I used it on this Thank You card, I hand-stitched the edges so that the paper would lay flat and so I also didn't have to use adhesive on each fold. Some other ways to adhere the pleats is to use it as a border underneath cardstock. I look forward to trying this out on a layout next time, look for that one next.
Friday, September 3, 2010
Easy and Quick gift idea
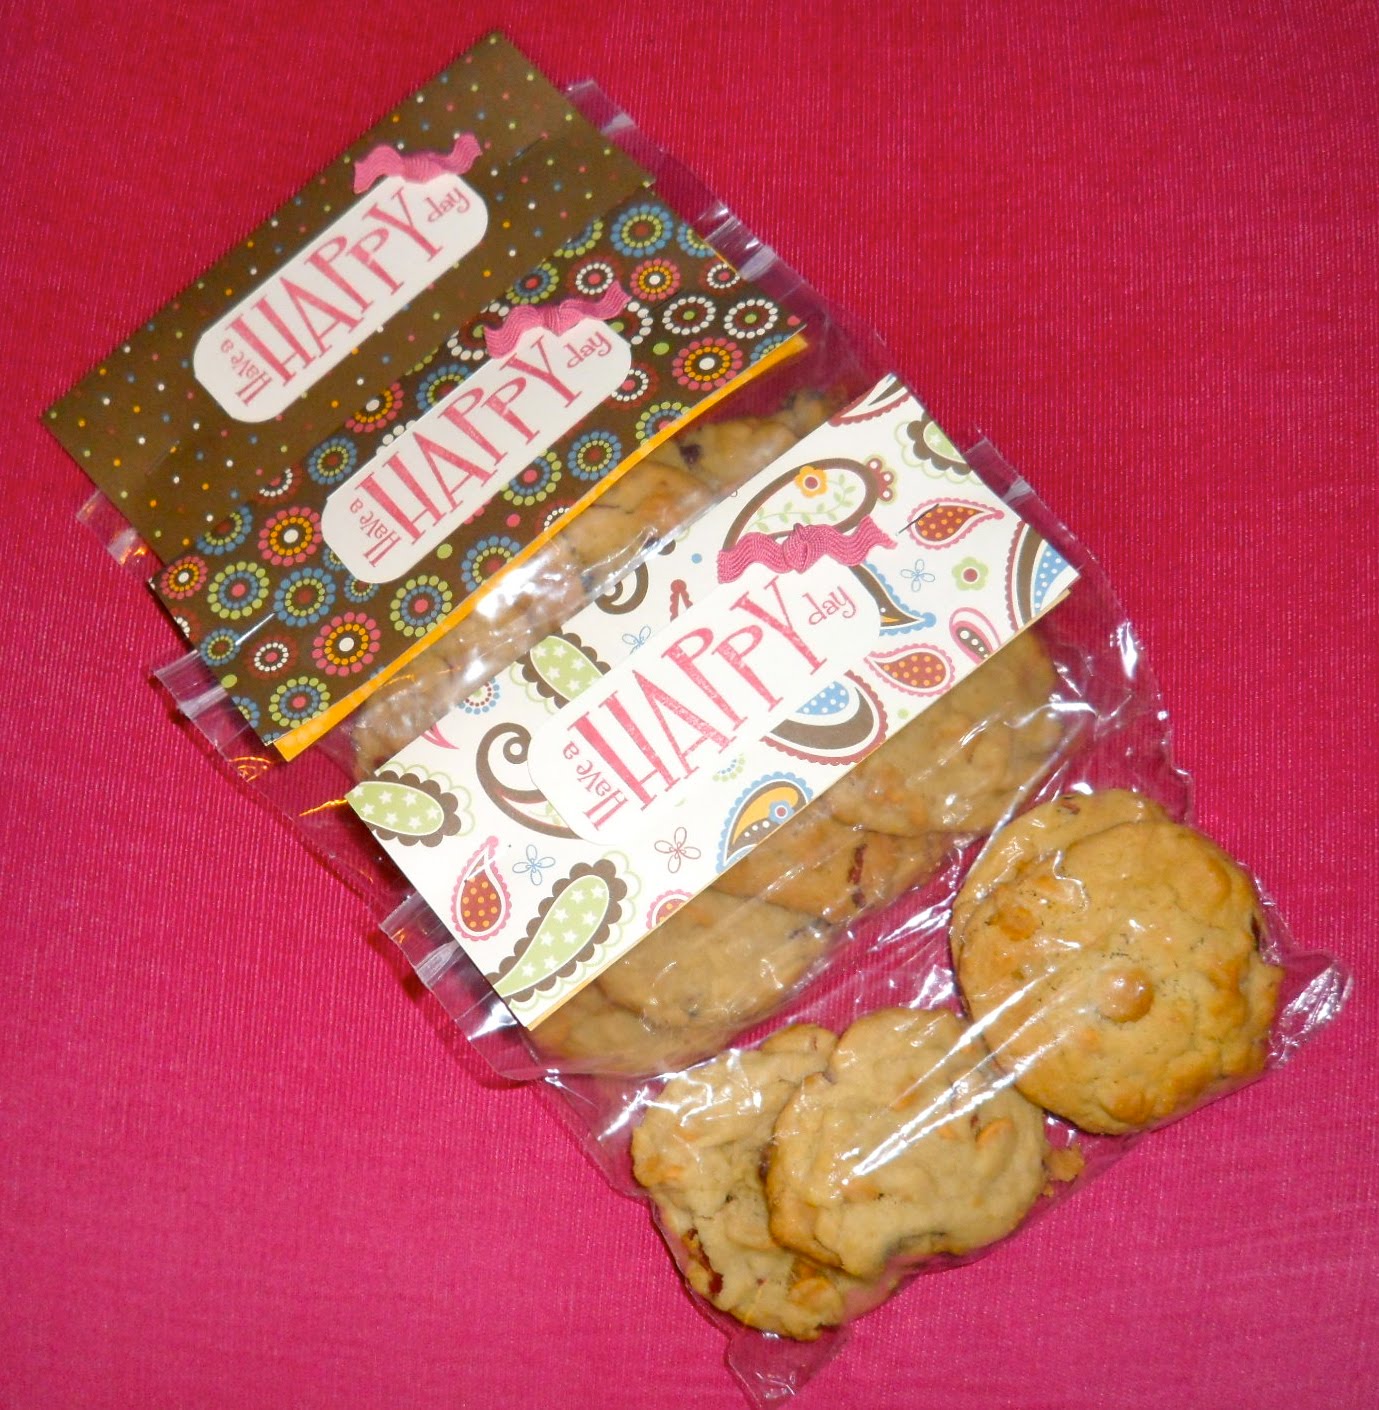
I made these bag toppers for a cute giveaway at the open house I had recently, which was to look at the new Close To My Heart Fall Idea Book and some of the new product. To make it, I cut out scraps of patterned paper that was approximately the width of the baggie and folded it in half. I then stamped on the white paper with my saying, rounded the corners then tied a bow with my ribbon and adhered it to the white paper with a Glue Dot. After I attached the white piece of paper, I stapled the folded paper just above the sealed portion of the bag so that the treats inside the bag would stay fresh.
My ladies loved it, especially the cookies inside. You could also put the recipe of the treats on the back side of the toppers.
Subscribe to:
Posts (Atom)