For this week's layout, I wanted to play up the Lucy paper that already has little crowns drawn on it so I cut out the title and the big crown from my Big Kids cartridge on the Slice. I like the addition of the Grey Wool paper to this paper pack as it gives a nice soft touch that isn't super girly. It tied together all of the pictures of my niece that were taken over a span of time.
To create the ribbon flower in the top right corner I did the following with a length of stitched grosgrain ribbon:
 |
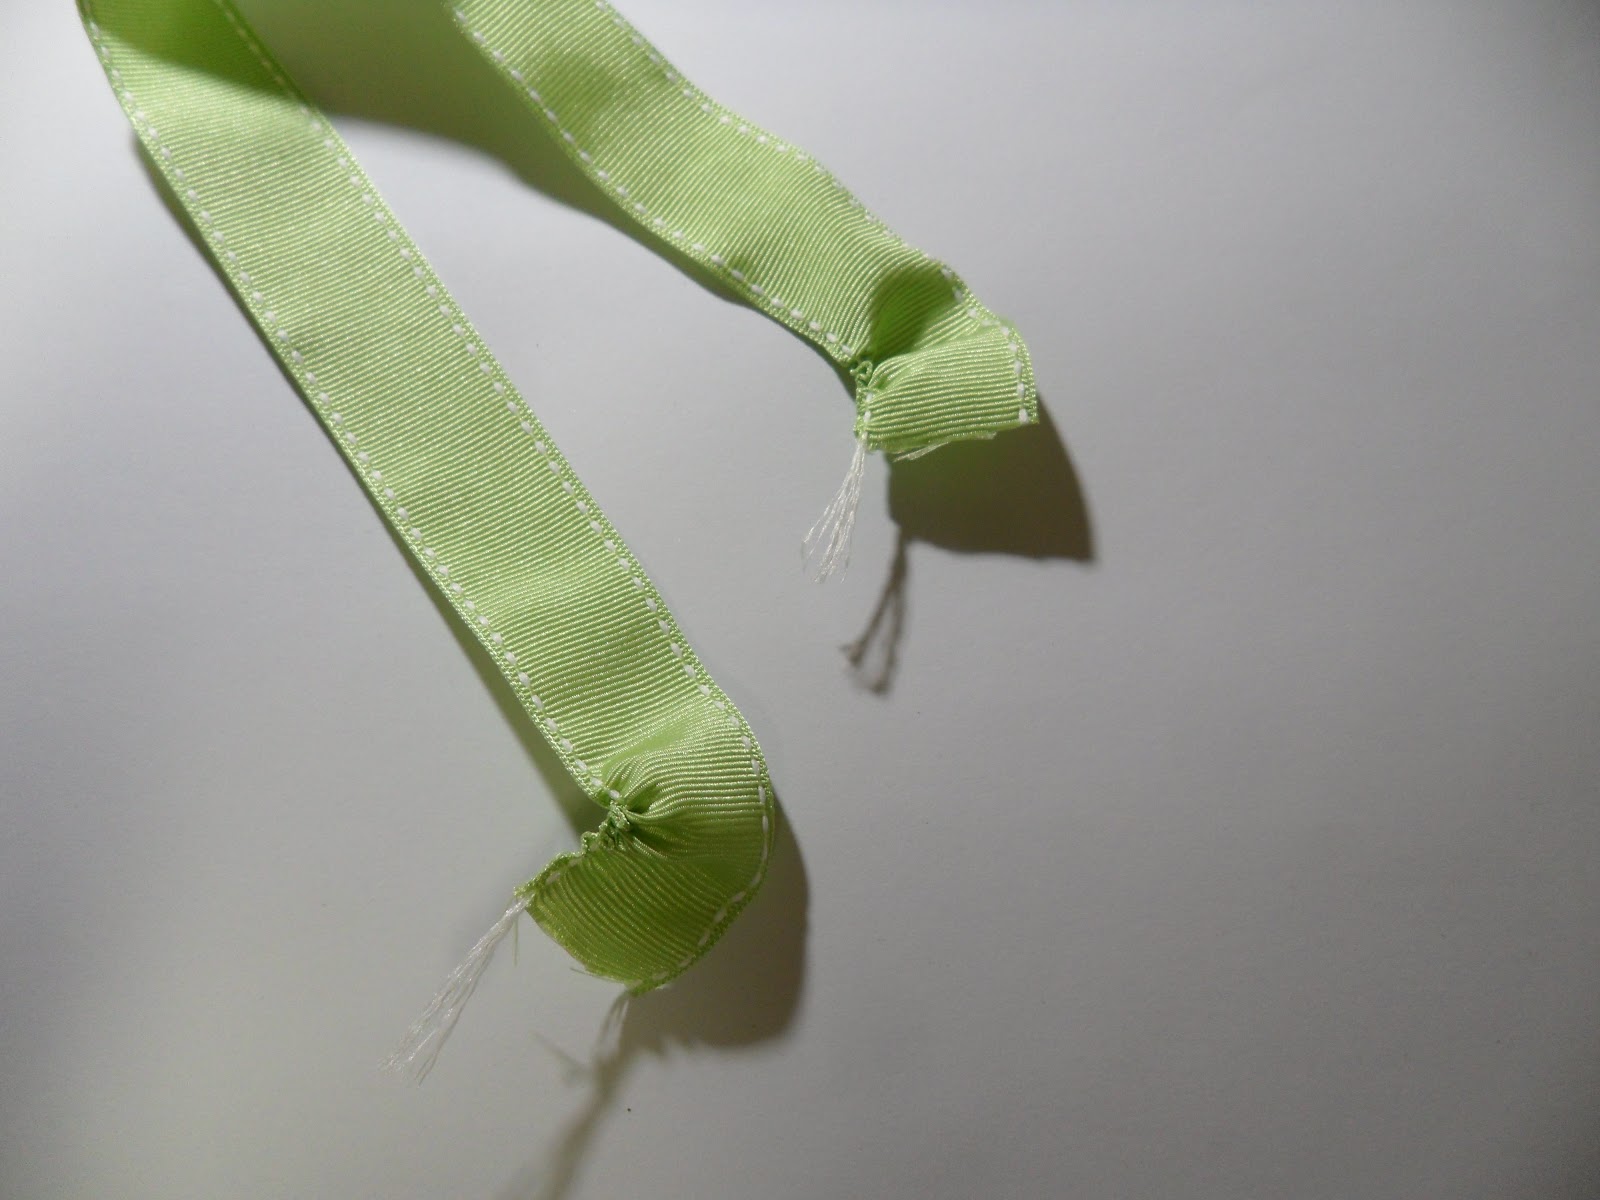
| Step 1: From the same side of the ribbon, pull the ends of the thread away from the ribbon so that you have enough to grab onto. |
 |
| Step 2: Continue pushing the ribbon together while keeping both ends of the thread loose until the ribbon has gathered completely in the middle. |
 |
| Step 3: Tie the thread in a knot tightly to secure the circle shape. |
 |
| Step 4: Clip off the end of the thread and use a Glue Dot to adhere the 2 ends of the ribbon together so that they don't show. |
 |
| Step 5: Adhere a button or other embellishment to the middle of your flower and you are ready to adhere it to your project using more Glue Dots. |
You can change the size of the flower by using different sized ribbon and also using a longer length of ribbon. I used approximately 10" of ribbon, but this ribbon is 1" wide.


No comments:
Post a Comment