Background

Showing posts with label embellishments. Show all posts

Sunday, April 19, 2015

Scrapaholics Unite Session 2 Class 12


I love when I can use embellishments that I've been holding onto forever as I feel justified then in hoarding my vast supply of scrapbooking stuff. These feathers I got in a warehouse box from Bella Blvd almost 2 years ago. The feathers fit in perfectly with the new Jackson paper pack. This hexagon layout from Scrapbook Generation worked so well, I only modified it slightly. I popped up a couple of the photos and the title, and was able to cut out all of the hexagons on my Cricut in a couple of minutes. Once the pattern was set, it was fairly easy to finish. 

This is the last class of this session. I'm hoping to start another session in the fall, but I'll definitely be posting some projects from the retreat that is coming up the first weekend in May. Stay tuned!

Thursday, April 26, 2012

DRCC Session 2 Class #9


With the new Victory paper pack I decided to spin the more army-ish paper so that it fits with an everyday hero, like my husband who is definitely Archer's hero. I like that this layout used the entire piece of the brown patterned paper and I did purposefully move the pictures on the right side higher on the page in order keep the badge visualized. I punched out the circles using my 1 1/2" punch to frame the title. 


The gold studs added a nice accent and to incorporate the milepost stars better with the layout, I inked the corrugated ridges with Outdoor Denim ink. 

Monday, February 20, 2012

DRCC Session 2 Class #1


Hello Ladies, Welcome back to class and a warm welcome to the new ladies who will be joining us. We're going to be having lots of fun with the new papers from CTMH this session. I can't wait to start working with them. This weeks class I pulled out an oldie (but a goodie) paper pack that I have called Boom-di-ada. It's got some great colors and is perfect for flirty girlie pictures. As it's the first class of a new session, I figured I would ease everyone back into the swing of things with an easier layout.


I overlapped the words on the title to give it a bit more depth than normal and added a ric rac bow for an accent.

Come back soon for a look at next week's layout.

Thursday, January 19, 2012

DRCC Session 1 Class #10


This layout is going to be a bit of a challenge as during class I will not be displaying the completed layout. I will include with the packages a print out of the sketch of the layout and sizes of the pieces of paper. This is to help my students to be able to follow a recipe as well as learning about measurements. We did get to use some of the new butterfly flutter paper shapes on this layout. 

This is the last class of this session, but I will be starting another 10 classes on February 21, 2012 with all new layouts. I will be posting the projects the week before as I currently have been doing. I hope everyone has enjoyed being in my class and I hope you are able to join me for another session. 

Tuesday, January 3, 2012

DRCC Session 1 Class #8


For this class I kept the layout fairly simple as the lettered paper is quite busy. I punched holes through the new Milepost stars to create a cool 3D accent, then strung a piece of hemp through the holes to make a banner. 


I found these cute little paper bags that I thought made a good spot for some hidden journaling or a special stamp like I did here. 


For the title, I cut out this shape on my Slice and then used rub-ons for the letters. This is the Typeset paper and it is great for school pictures as well. 

Thursday, November 24, 2011

DRCC Session 1 Class #5


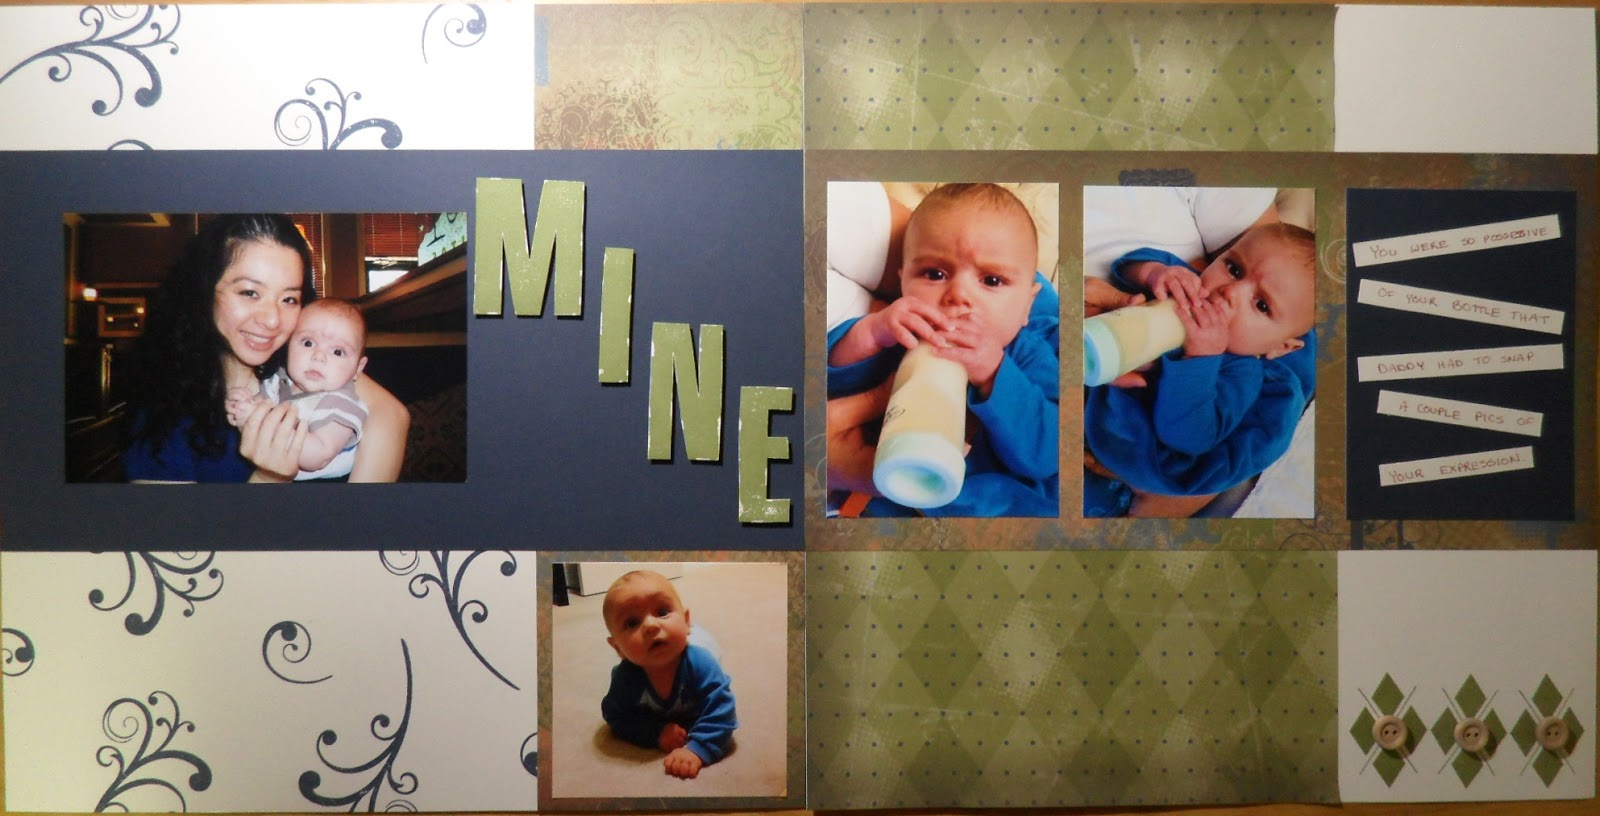
This week we will be creating our own background page by random stamping. We will also be exploring a different kind of journaling using strips of paper. I also added some embellishments using the new wooden buttons.

Wednesday, November 16, 2011

DRCC Session 1 Class #4


I used the new Roxie paper pack from CTMH for this layout. I love the contrast of the feminine pink rose paper with the pink and black plaid. I used all parts of the paper for this layout, including the zip strips as the scalloped border.


I'll be teaching how to emboss at the next class for the title here. I just used black embossing powder and stamped the title on with Versamark ink. I also embossed the "too cute!" sentiment onto the chipboard flower.


We will also be getting a chance to add some bling to the page with the new Bling buttons and as an extra sparkle, I placed the mini sparkles on top of a few of the paper gems on the zip strips. 

Thursday, November 10, 2011

DRCC Session 1 Class #3


For this layout, I used 4-4x4 photo's and 1-8x10 photo. If you don't have an 8x10 photo you would like to use, 4-4x5 pictures can also be bunched together in that area. Color photo's are fine as well. We'll also be focusing on inking at the next class and by that, I mean edging paper and photos in ink to give them definition. I'll also be demonstrating a neat trick on how to cut your ribbon so that your knot is placed exactly where you want it.

We'll also be using some a few embellishments, a rub-on, brads, photo clips and the new Foundry Pin Clips pictured here.


For my students, if you would like a deep purple or a dark green in place of the brown cardstock, please email me by Monday for when I prep the class. Start thinking about title's too! See you on Tuesday!

Please email me as well if you would like more information on my classes.